How to Clean Heating and Air Conditioning Ducts Yourself
Learn how to clean heating and AC ducts yourself, what tools you need, step-by-step methods, and when to call a professional.
You can clean heating and air conditioning ducts yourself by vacuuming and brushing the registers, the grilles, and the accessible duct behind them but reaching the full system, including the trunk lines, requires a professional’s negative-pressure equipment. DIY handles the visible dust. This guide shows you exactly what to do, the tools you need, and the point where the job stops being a DIY project.
Can You Clean Air Ducts Yourself?
Yes, you can clean air ducts yourself for routine, surface-level maintenance. A homeowner with a shop vacuum and a brush can clean the registers, the grilles, and the first foot or two of duct behind each opening. That work removes the visible dust that collects near the vents and settles on your furniture.
DIY cleaning has a hard boundary, though. It reaches what you can physically touch, and nothing deeper. A standard household vacuum lacks both the hose length and the suction to pull packed debris from the main trunk lines.
What DIY Duct Cleaning Reaches and What It Can’t
The difference between DIY and professional duct cleaning is not effort. It is air pressure. Understanding that one fact tells you exactly where your weekend project ends.
A professional cleaning puts the entire duct system under negative pressure with a high-powered, HEPA-filtered vacuum. That suction runs while rotary brushes agitate the duct walls, so everything that comes loose travels toward the machine. The order matters: loosen the debris, then capture it, in that sequence. A DIY drill-brush kit reverses that order. It agitates the dust with nothing capturing it, so a share of what comes off the duct wall goes airborne, rides the system downstream, and resettles elsewhere in the home. In a household with allergies, that redistributes contaminants instead of removing them.
DIY cleaning reaches these parts:
- The registers and grilles you unscrew and wash.
- The first 1 to 2 feet of duct behind each opening.
- The return grille and the accessible blower compartment.
DIY cleaning cannot reach these parts:
- The main trunk lines, where the heaviest buildup collects.
- The full length of the supply and return runs.
- The evaporator coil and the sealed interior of the air handler.
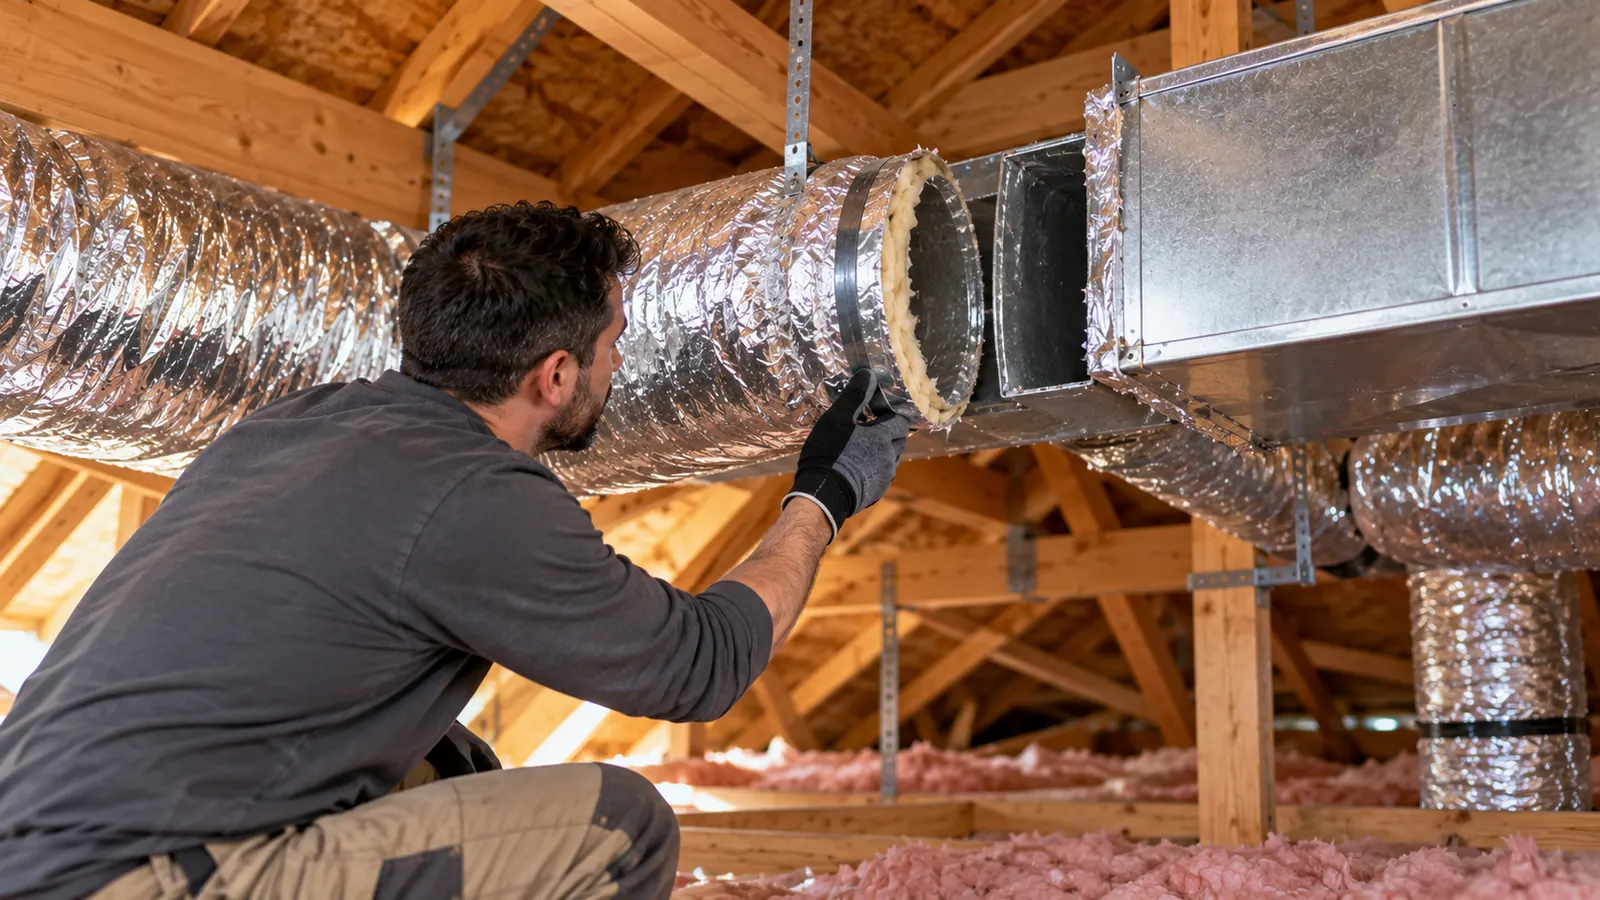
There is also a hardware risk. Flexible duct is a thin inner liner stretched over a wire helix, and a stiff brush on a drill tears that liner. Extension rods whip once they travel far down a run and can separate inside the duct. Both mistakes turn a cleaning into a repair.
Tools You Need to Clean Your Ducts Yourself
Gather these tools before you start. Each one does a specific job.
| Tool | Purpose |
|---|---|
| Shop vacuum with a long hose | Suctioning loose dust from accessible duct |
| HEPA filter (on the vacuum) | Trapping fine allergens instead of blowing them back out |
| Stiff-bristle duct brush | Loosening dust stuck to the duct walls |
| Screwdriver or nut driver | Removing the vent covers and grilles |
| Flashlight | Inspecting inside the ducts for debris, mold, or pests |
| Microfiber cloths | Wiping the registers and accessible surfaces |
| Drop cloths | Protecting floors and furniture under the vents |
| Mask, goggles, and gloves | Protecting you from airborne dust |
A HEPA-filter vacuum matters most. A vacuum without one blows the fine dust it picks up straight back into your air.
How to Clean Your Heating and AC Ducts Yourself (Step-by-Step)
To clean your heating and air conditioning ducts yourself, follow these seven steps:
- Turn off the HVAC system at the thermostat and the breaker.
- Cover the floors and the registers you are not currently cleaning.
- Unscrew and remove the vent covers and grilles.
- Vacuum the accessible duct, brush the walls to loosen debris, then vacuum again.
- Wash the vent covers and clean the return grille and the accessible blower area.
- Replace the air filter with a fresh one.
- Run the fan for 30 minutes to clear any residual dust.
Here is each step in detail.
Step 1: Turn Off the System
Shut off your heating and cooling system at the thermostat and switch off the breaker before you touch anything. This is a mandatory safety step. With the blower stopped, the dust you dislodge cannot get pulled into the air handler and blown through the house.
Step 2: Cover the Floors and Registers
Lay drop cloths under each vent and cover the registers you are not actively cleaning. Covering the other openings keeps loosened dust from drifting out of them while you work one duct at a time.
Step 3: Remove the Vent Covers
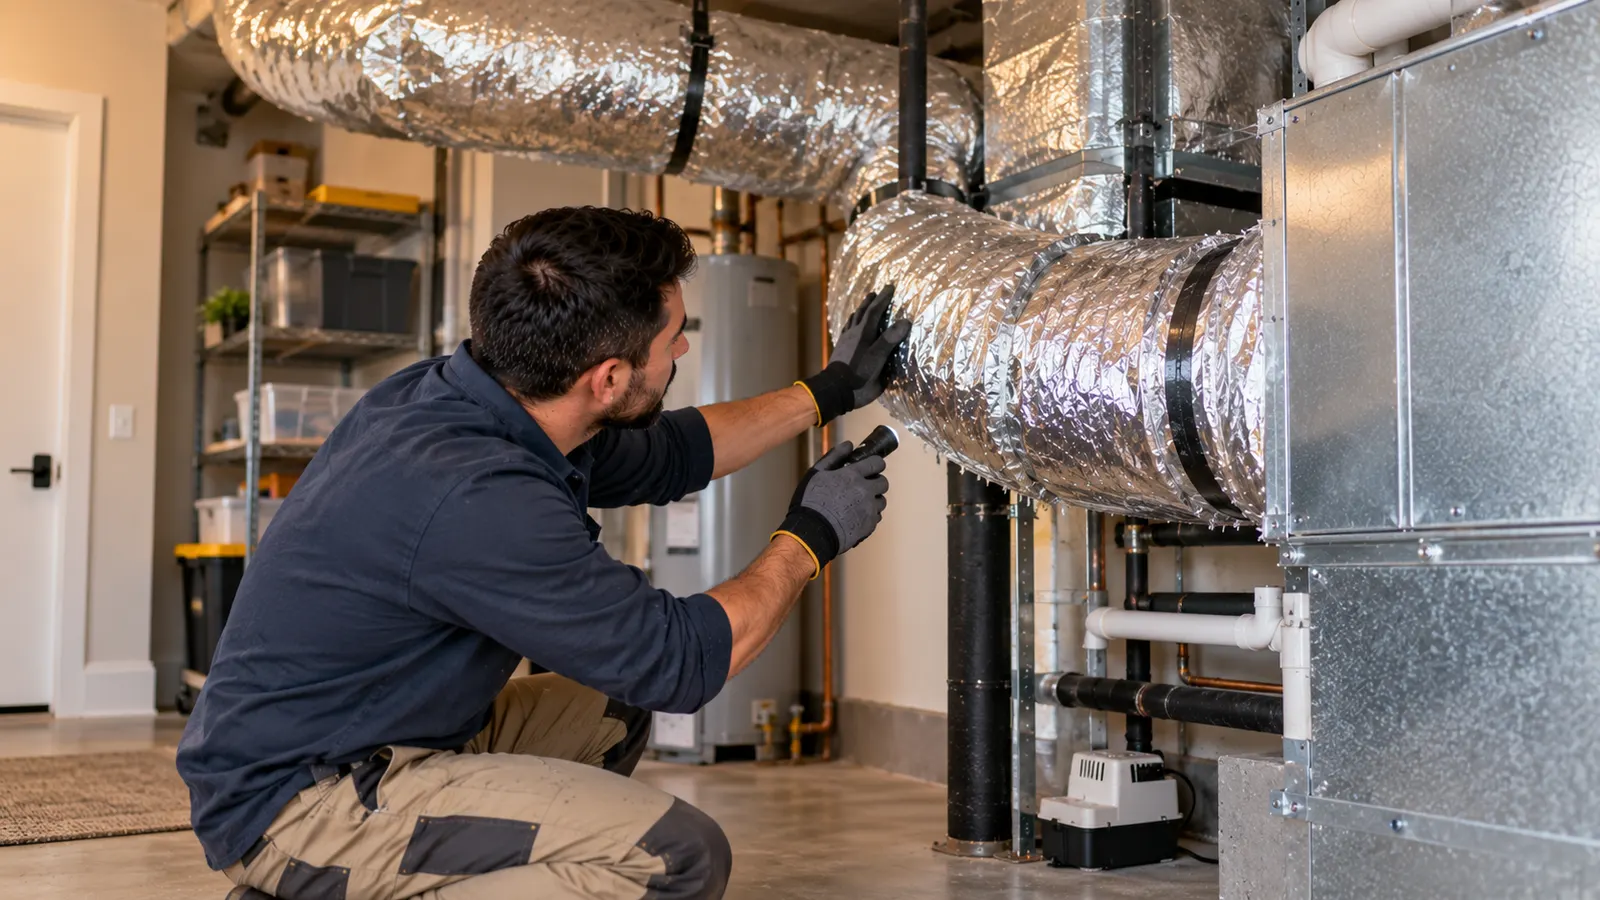
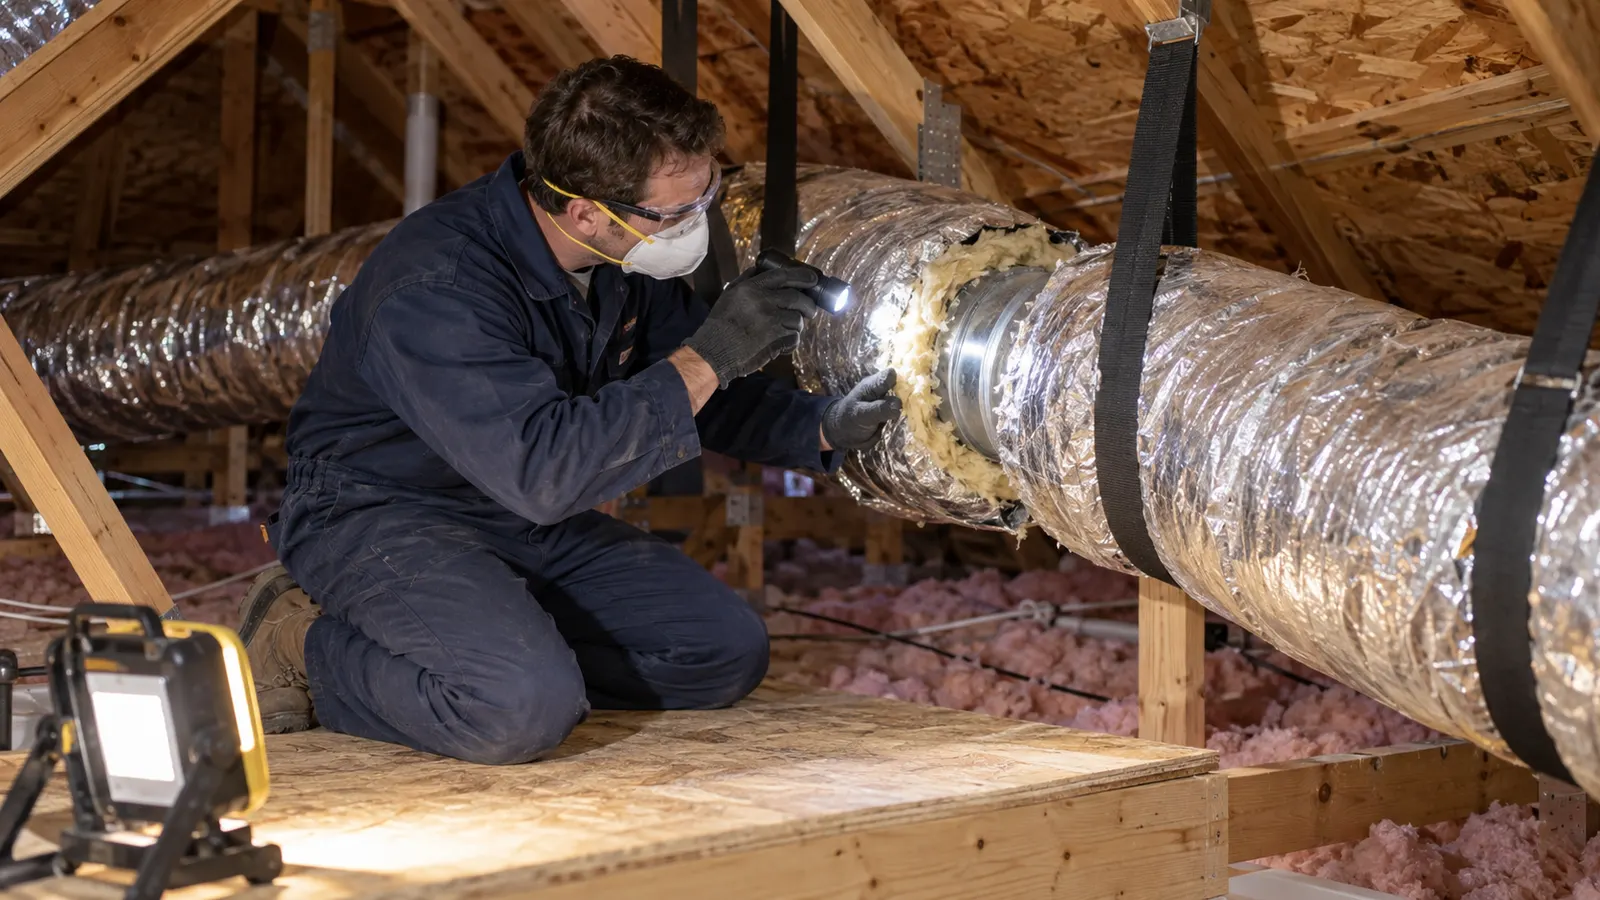
Unscrew the supply registers and return grilles with a screwdriver. Set the screws somewhere safe. Use your flashlight to look inside each opening and note what you find light dust is a DIY job, but visible mold, droppings, or nesting is a stop sign covered below.
Step 4: Vacuum and Brush the Accessible Duct
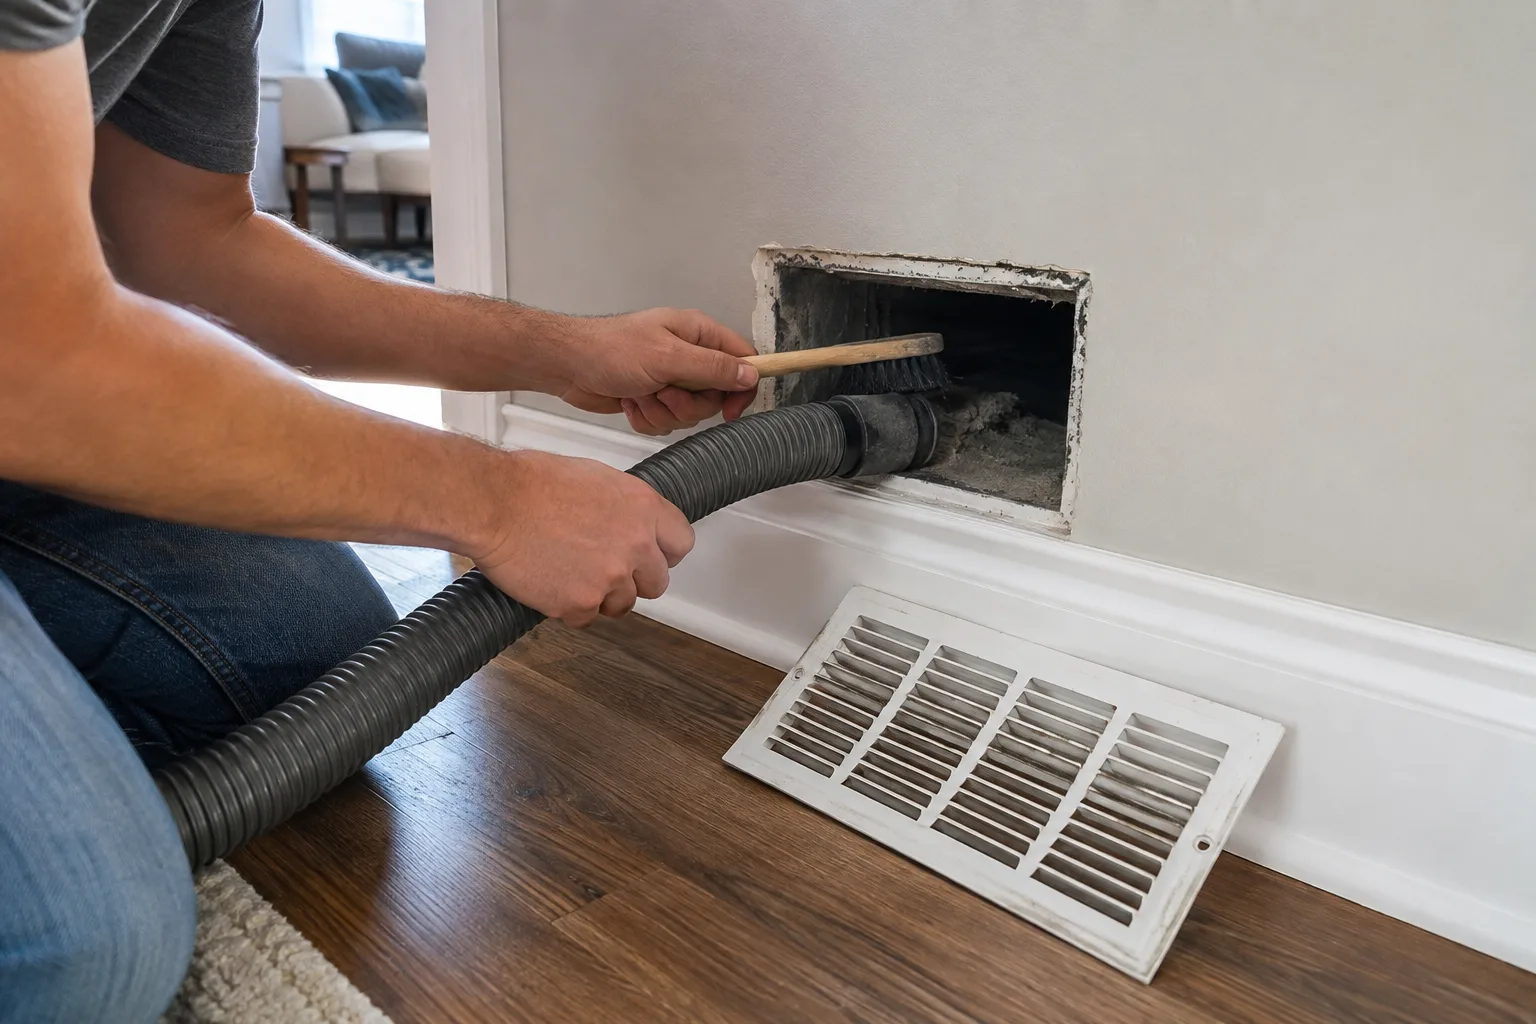
Insert the vacuum hose as far as it reaches and suction the loose dust from the bottom, sides, and top of the duct. Work the stiff brush gently along the walls to loosen stuck debris, then vacuum again to capture it. Move gently on flexible duct the inner liner tears easily.
Step 5: Clean the Covers and Return
Wash the vent covers and grilles with soap and water, then dry them fully before reinstalling. Clean the larger return grille the same way, and wipe the accessible surfaces of the blower compartment with a damp microfiber cloth.
Step 6: Replace the Air Filter
Install a fresh air filter. The filter is your system’s first defense against future buildup, so a clean one keeps your ducts cleaner longer.
Step 7: Run the Fan
Reinstall the covers, restore power, and run the fan for 30 minutes. The airflow clears any fine dust the cleaning stirred up and confirms the system is moving air freely.
When to Stop and Call a Professional
Stop the DIY project and call a professional the moment you find a problem a vacuum cannot fix. The EPA recommends professional cleaning when specific conditions are present, and each one is beyond a shop-vac job:
- Visible mold inside the ducts or on the coil. Mold requires containment and source removal
- Vermin insects, rodents, or nesting inside the ductwork.
- Excessive debris or dust actively blowing out of the registers.
- Recent renovation, which packs fine drywall and construction dust deep into the system.
Two more cases call for a professional: a home built before the 1980s, where disturbing suspected asbestos duct insulation is dangerous, and any system where the buildup sits in the trunk lines you cannot reach. In each case, professional air duct cleaning removes what DIY redistributes.
Heating Ducts vs. AC Ducts: Is There a Difference?
Cleaning heating ducts and air conditioning ducts yourself uses the same steps, because most homes share one duct system for both. The registers, grilles, and runs you clean carry heated air in winter and cooled air in summer through the same paths.
The difference sits at the equipment. The air conditioning side adds the evaporator coil, where dust and moisture combine and mold grows the reason AC duct cleaning targets the coil. The heating side runs on the furnace and its blower, which furnace duct cleaning covers. Both components sit inside the sealed air handler, past the reach of any DIY tool.
Frequently Asked Questions
Can you clean air ducts yourself? Yes, for surface maintenance. You can clean the registers, grilles, and the first foot or two of accessible duct with a shop vacuum and a brush. A whole-system cleaning that reaches the trunk lines needs a professional’s negative-pressure vacuum, which no household tool provides.
How do you clean heating and air conditioning ducts yourself? Turn off the system, cover the floors and registers, remove the vent covers, vacuum and brush the accessible duct, clean the covers and return, replace the filter, and run the fan for 30 minutes. Most homes share one duct system for both heating and cooling.
Is DIY duct cleaning as good as professional cleaning? No. DIY cleaning reaches only the accessible sections near the vents. Professional cleaning puts the whole system under negative pressure so rotary brushes can loosen debris while the vacuum captures it. DIY agitation without capture can redistribute dust instead of removing it.
How often should you clean your air ducts? The EPA advises cleaning on an as-needed basis rather than a fixed schedule. Clean when you see mold, pests, or heavy debris, or after a renovation. Many households also clean the full system every 3 to 5 years, and sooner with pets or allergies.
Can DIY duct cleaning damage my ducts? Yes. A stiff brush on a drill tears the thin inner liner of flexible duct, and long extension rods can whip and separate inside a run. Work gently, and leave hard-to-reach or flexible runs to a professional.
Cleaner registers make a visible difference but the trunk lines need equipment DIY cannot match. When your ducts need a complete, source-removal cleaning, SoCal Green’s certified technicians handle it across the Los Angeles area, and pair it with allergen and dust reduction for homes that need it.