How to Install a Dryer Vent Hose: A Step-by-Step Guide
Learn how to install a dryer vent hose safely. Follow 6 steps to connect, secure, seal, and test your dryer vent for proper airflow.
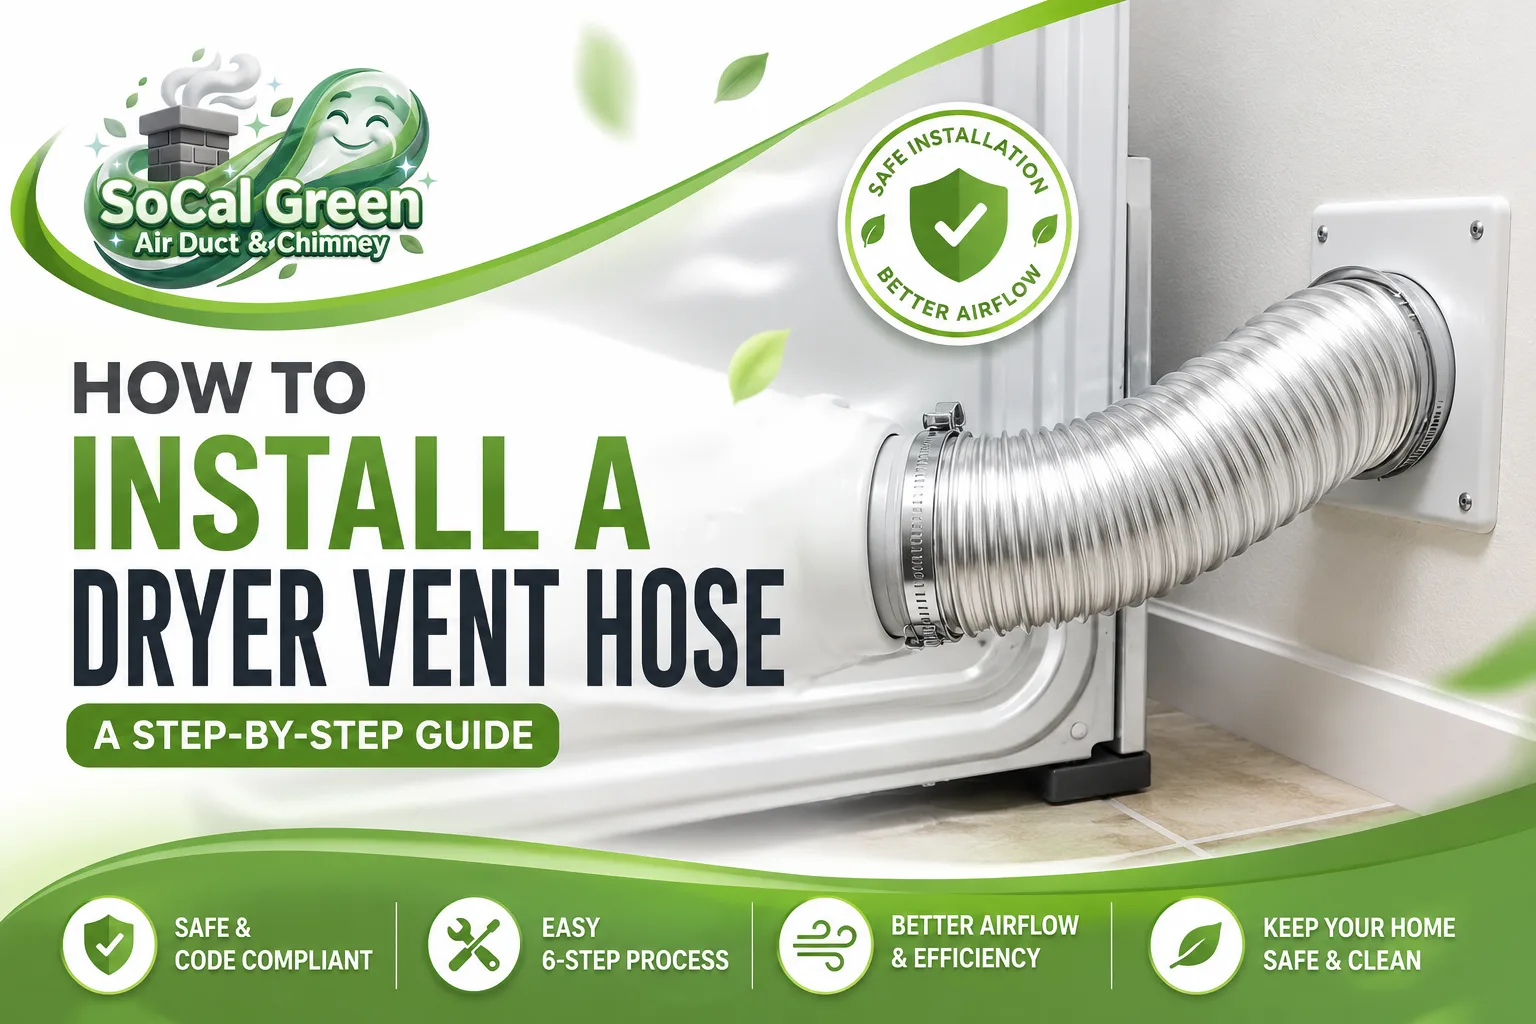
To install a dryer vent hose, connect a rigid or listed-metal duct between your dryer’s exhaust outlet and the wall vent, secure both ends with metal clamps, and seal the joints with foil tape. Most homeowners complete the job in under an hour with basic tools. This guide covers the right materials, the six installation steps, the correct duct length under building code, and the mistakes that turn a simple install into a fire hazard.
What You Need to Know Before Installing a Dryer Vent Hose
Before you install anything, choose the right duct. The material you use is the single biggest safety decision in the entire job.
Types of Dryer Vent Hoses
What types of dryer vent hoses are available? The three main types are rigid metal duct, semi-rigid metal transition duct, and flexible plastic or foil duct and only the metal options are safe.
- Rigid metal duct is the safest and the code standard. It has the smoothest interior, so it moves air well and collects the least lint. Building code requires rigid metal (minimum 0.016 inches thick, 4-inch diameter) for the concealed run inside walls and ceilings.
- Semi-rigid or listed flexible metal transition duct is permitted only for the short transition behind the dryer, so you can pull the appliance out for service. This transition connector must be listed to UL 2158A, must not run more than about 8 feet, and must never be concealed inside a wall.
- Flexible plastic or foil accordion duct must never be used. It is a fire hazard and a code violation. Its ridged interior traps lint, and the material itself can burn.
The rule is simple: always use metal duct, and never use plastic or vinyl.
How do you choose the right dryer vent hose?
Choose based on your installation location, your space constraints, and your local building code.
Use rigid metal duct for the run through the wall or ceiling. Use a short, listed metal transition connector behind the dryer. For a tight space where the dryer sits close to the wall, a periscope (rectangular) duct or a recessed dryer vent box lets the appliance sit closer without crushing the connection.
Materials and Tools for Dryer Vent Hose Installation
Gather everything before you start. A complete install needs five materials and five tools.
Essential Materials
What materials do you need to install a dryer vent hose? You need a metal dryer vent duct, metal clamps, and foil tape at minimum.
| Material | Description | Purpose |
|---|---|---|
| Dryer vent duct | 4-inch diameter rigid or listed metal | Primary venting material |
| Metal clamps | 4-inch adjustable worm-gear clamps | Secure the connections |
| Foil tape | UL 181 aluminum foil tape | Seal the joints |
| Transition connector | Listed UL 2158A metal, if needed | Short connection behind the dryer |
| Fasteners | Non-protruding, if required | Support rigid duct (must not protrude inside) |
Essential Tools
What tools do you need to connect a dryer vent hose?
You need a screwdriver, tin snips, a tape measure, work gloves, and a flashlight.
| Tool | Purpose |
|---|---|
| Screwdriver or nut driver | Tightening the clamps |
| Tin snips | Cutting metal duct to length |
| Tape measure | Measuring the run |
| Work gloves | Protecting hands from cut metal edges |
| Flashlight | Lighting the space behind the dryer |
How to Install a Dryer Vent Hose in 6 Steps
To install a dryer vent hose, follow these six steps:
- Measure the distance from the dryer to the wall vent and cut the duct to length.
- Attach the duct to the dryer’s exhaust outlet with a metal clamp.
- Route the duct to the wall vent with as few bends as possible.
- Connect the duct to the wall vent and secure it with a metal clamp.
- Seal every joint with foil tape never duct tape or protruding screws.
- Test the installation by running the dryer and checking the outside vent flap.
Here is each step in detail.
Step 1: How do you prepare for dryer vent hose installation?
Measure the distance from the dryer to the wall vent, then cut the duct to that length. Pull the dryer away from the wall, measure the distance to the wall vent, and add 6 to 12 inches of slack so the duct is not stretched tight when the dryer sits back in place. Cut the duct to length if needed.
Step 2: How do you attach the vent hose to the dryer?
Slide the duct onto the dryer’s exhaust outlet and secure it with a metal clamp. Slip the clamp over the end of the duct first, push the duct firmly onto the outlet, position the clamp over the connection, and tighten it until the fit is snug and secure with no gaps.
Step 3: How do you route the dryer vent hose?
Route the duct to the wall vent with as few bends as possible, and never crush or kink it. Keep the run as straight as you can. Where you must turn, use two 45-degree bends instead of one sharp 90-degree bend to protect airflow. Do not crush the duct by shoving the dryer tight against the wall leave room, or use a periscope duct.
Step 4: How do you connect the vent hose to the wall vent?
Push the duct onto the wall vent fitting and secure it with a metal clamp. Seat the duct fully onto the wall vent, slide the clamp over the joint, tighten it firmly, and check that there are no gaps where air or lint could escape into the wall cavity.
Step 5:How do you secure dryer vent hose connections?
Secure every joint with metal clamps and UL 181 foil tape never duct tape. Duct tape dries out and fails within a year or two. Standard sheet-metal screws must not be used at the joints either, because any fastener that protrudes into the duct snags lint and creates a clog. Use clamps and foil tape to make each connection tight and smooth on the inside.
Step 6: How do you test your dryer vent installation?
Run the dryer on a low-heat cycle, then go outside and confirm the vent flap opens with strong airflow. Feel for a strong, warm rush of air at the exterior hood. Check every joint inside for leaks, and confirm your next load dries in a normal cycle. Weak airflow at the hood means a loose connection or a crushed duct.
How Long Should Your Dryer Vent Hose Be?
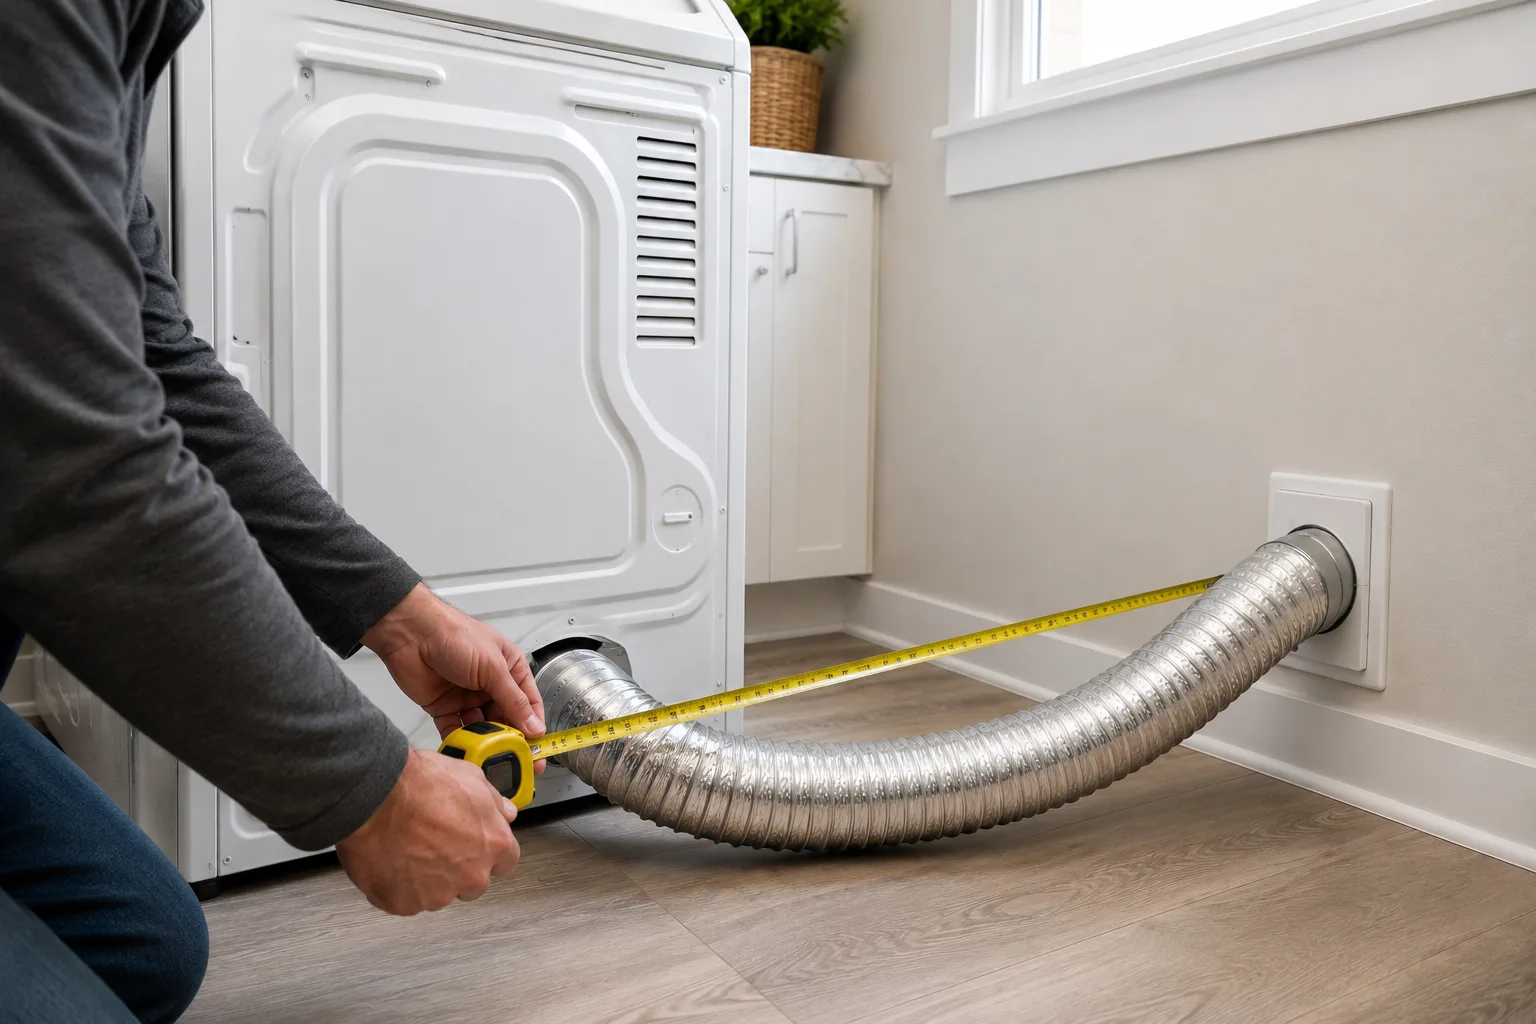
The International Residential Code sets the maximum developed length of a dryer exhaust duct at 35 feet but many dryer manufacturers specify 25 feet, and you must follow whichever is shorter. Longer runs trap more lint and raise fire risk, so shorter is always better.
Maximum Length and Bends
Bends count against your maximum. Each 90-degree bend subtracts 5 feet from the allowed length, and each 45-degree bend subtracts 2.5 feet. For example, a duct with three 90-degree bends drops a 35-foot allowance to just 20 feet of straight run. This is why fewer, gentler bends matter. The short transition duct behind the dryer does not count toward this length, and a run that must exceed the limit requires a listed booster fan.
How do you measure for the correct length?
Measure from the dryer’s outlet to the wall vent, then add 6 to 12 inches for movement. That small amount of slack lets you slide the dryer in and out for cleaning without stressing the connections.
How do you cut a dryer vent hose?
Measure the length you need, mark the cut line, and cut the metal duct with tin snips. After cutting, smooth and deburr the sharp edge so it does not catch lint or cut your hands. For a listed semi-rigid metal transition, cut it the same way with tin snips and clean the edge before attaching. Always wear work gloves freshly cut duct edges are sharp.
Common Dryer Vent Hose Installation Mistakes
Most failed installs come down to a handful of avoidable mistakes. Avoid these five.
| Mistake | Why it’s wrong | The fix |
|---|---|---|
| Plastic or foil duct | Flammable and against code | Use rigid or listed metal duct |
| Duct tape at joints | Dries out and fails | Use UL 181 foil tape and clamps |
| Screws that protrude inside | Snag lint and cause clogs | Use clamps and foil tape instead |
| Crushing the duct | Restricts airflow | Leave slack or use a periscope duct |
| Too many sharp bends | Traps lint, cuts airflow | Use 45-degree bends and keep it short |
Getting the materials and routing right is exactly what protects your home the same principles behind professional dryer vent fire prevention.
Should You Install a Dryer Vent Hose Yourself or Hire a Professional?
Can you install a dryer vent hose yourself?
Yes, a basic behind-the-dryer connection is a manageable DIY job if you use metal duct and follow the steps above. DIY saves money and lets you work on your own schedule. The trade-off is the risk of a hidden mistake: a crushed duct, a leaky joint, or a run that is too long can quietly raise your fire risk and drive up drying times.
Why hire a professional?
Professional installation ensures the duct is sized, routed, and sealed to code which matters most for in-wall runs, roof terminations, and long or complicated routes. A pro also confirms airflow and catches problems a homeowner cannot see. For anything beyond a simple transition connection, professional dryer vent installation and repair is the safer choice.
Professional Dryer Vent Installation with SoCal Green Air & Chimney
SoCal Green Air & Chimney installs, connects, and replaces dryer vent systems for homeowners across Southern California. Our certified, insured technicians size the duct correctly, route it to code, seal every joint, and verify airflow before they leave with upfront, written pricing on every job.
We also keep your new vent working safely over time. Once your system is installed, routine dryer vent cleaning keeps lint from building up, and knowing the signs your dryer vent is clogged helps you catch a problem early. From Los Angeles to the San Fernando Valley, we handle every part of dryer vent care.
Schedule your dryer vent installation today →
Frequently Asked Questions
How do you install a dryer vent hose?
You install a dryer vent hose by measuring and cutting a metal duct to length, attaching it to the dryer outlet with a metal clamp, routing it to the wall vent with minimal bends, clamping it to the wall vent, sealing the joints with foil tape, and testing the airflow.
How do you connect a dryer vent hose to the dryer?
You connect a dryer vent hose to the dryer by sliding a metal clamp over the duct, pushing the duct firmly onto the dryer’s exhaust outlet, positioning the clamp over the connection, and tightening it until the fit is snug with no gaps.
How do you connect a dryer vent hose to the wall?
You connect a dryer vent hose to the wall by seating the duct fully onto the wall vent fitting and securing it with a metal clamp. For tight spaces, a periscope duct or recessed vent box lets the dryer sit closer to the wall.
How long should a dryer vent hose be?
Code allows a maximum developed length of 35 feet, but many manufacturers specify 25 feet follow whichever is shorter. Each 90-degree bend subtracts 5 feet and each 45-degree bend subtracts 2.5 feet, so keep the run as short and straight as possible.
What is the best type of dryer vent hose?
Rigid metal duct is the best type. It provides the smoothest airflow, collects the least lint, and meets building code. Never use flexible plastic or foil accordion duct, which is a fire hazard and a code violation.
Who installs dryer vents near me?
A licensed dryer vent professional installs dryer vents. In Southern California, SoCal Green Air & Chimney provides certified dryer vent installation and repair, sizing and routing the duct to code and verifying airflow before finishing the job.